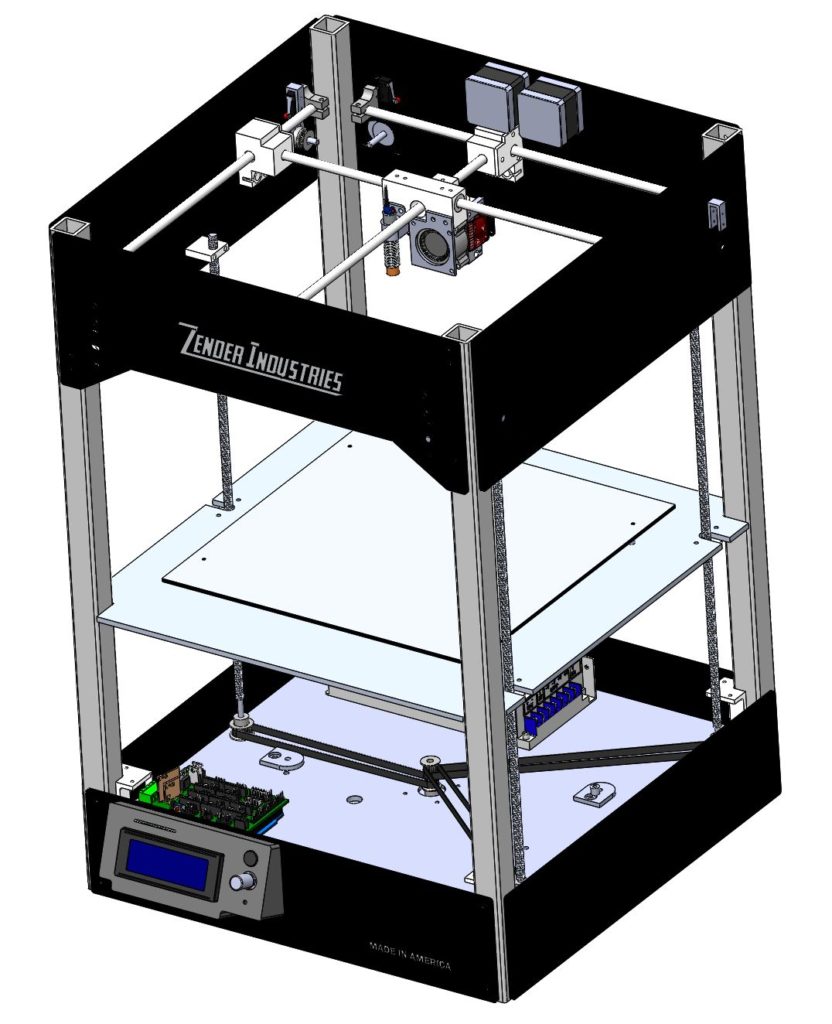
Why 3D Printers
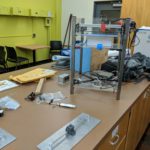
3D printing became my main hobby when my high school robotics mentor asked me if I wanted to learn how to build 3D printers. That was in 2013. Since then I haven’t stopped. My typical day begins with school/work for 8 hours followed by 4 hours of working on my printers. 3D printers are amazing because they include a wide range of engineering from control systems to HVAC. Through these printers, I have gained hands on experience in design, electrical engineering and computer science.
Design
Z1
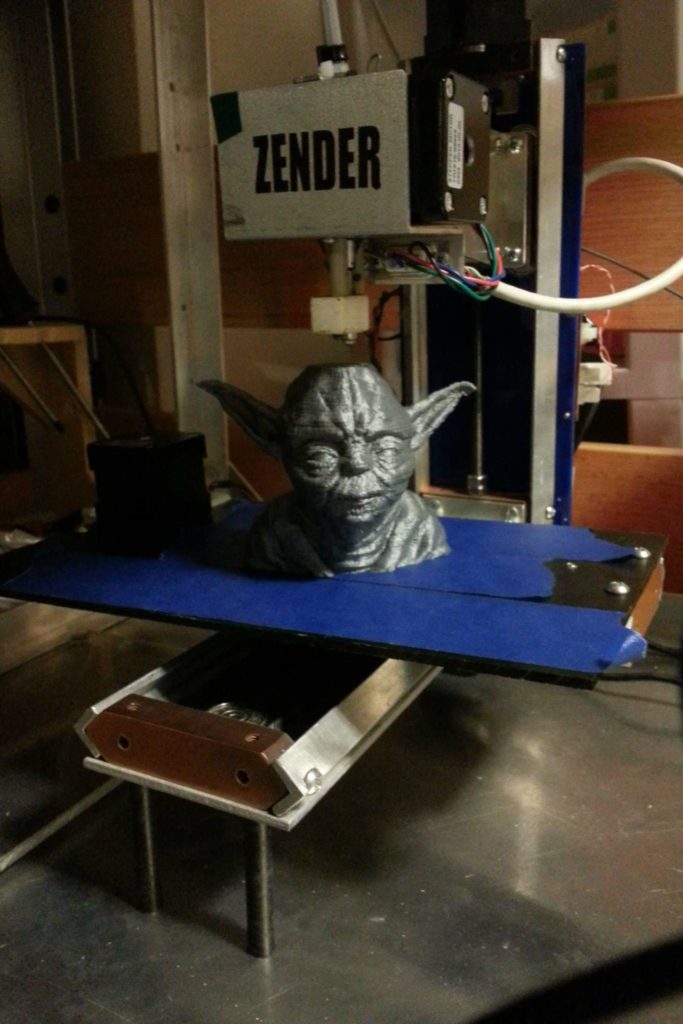
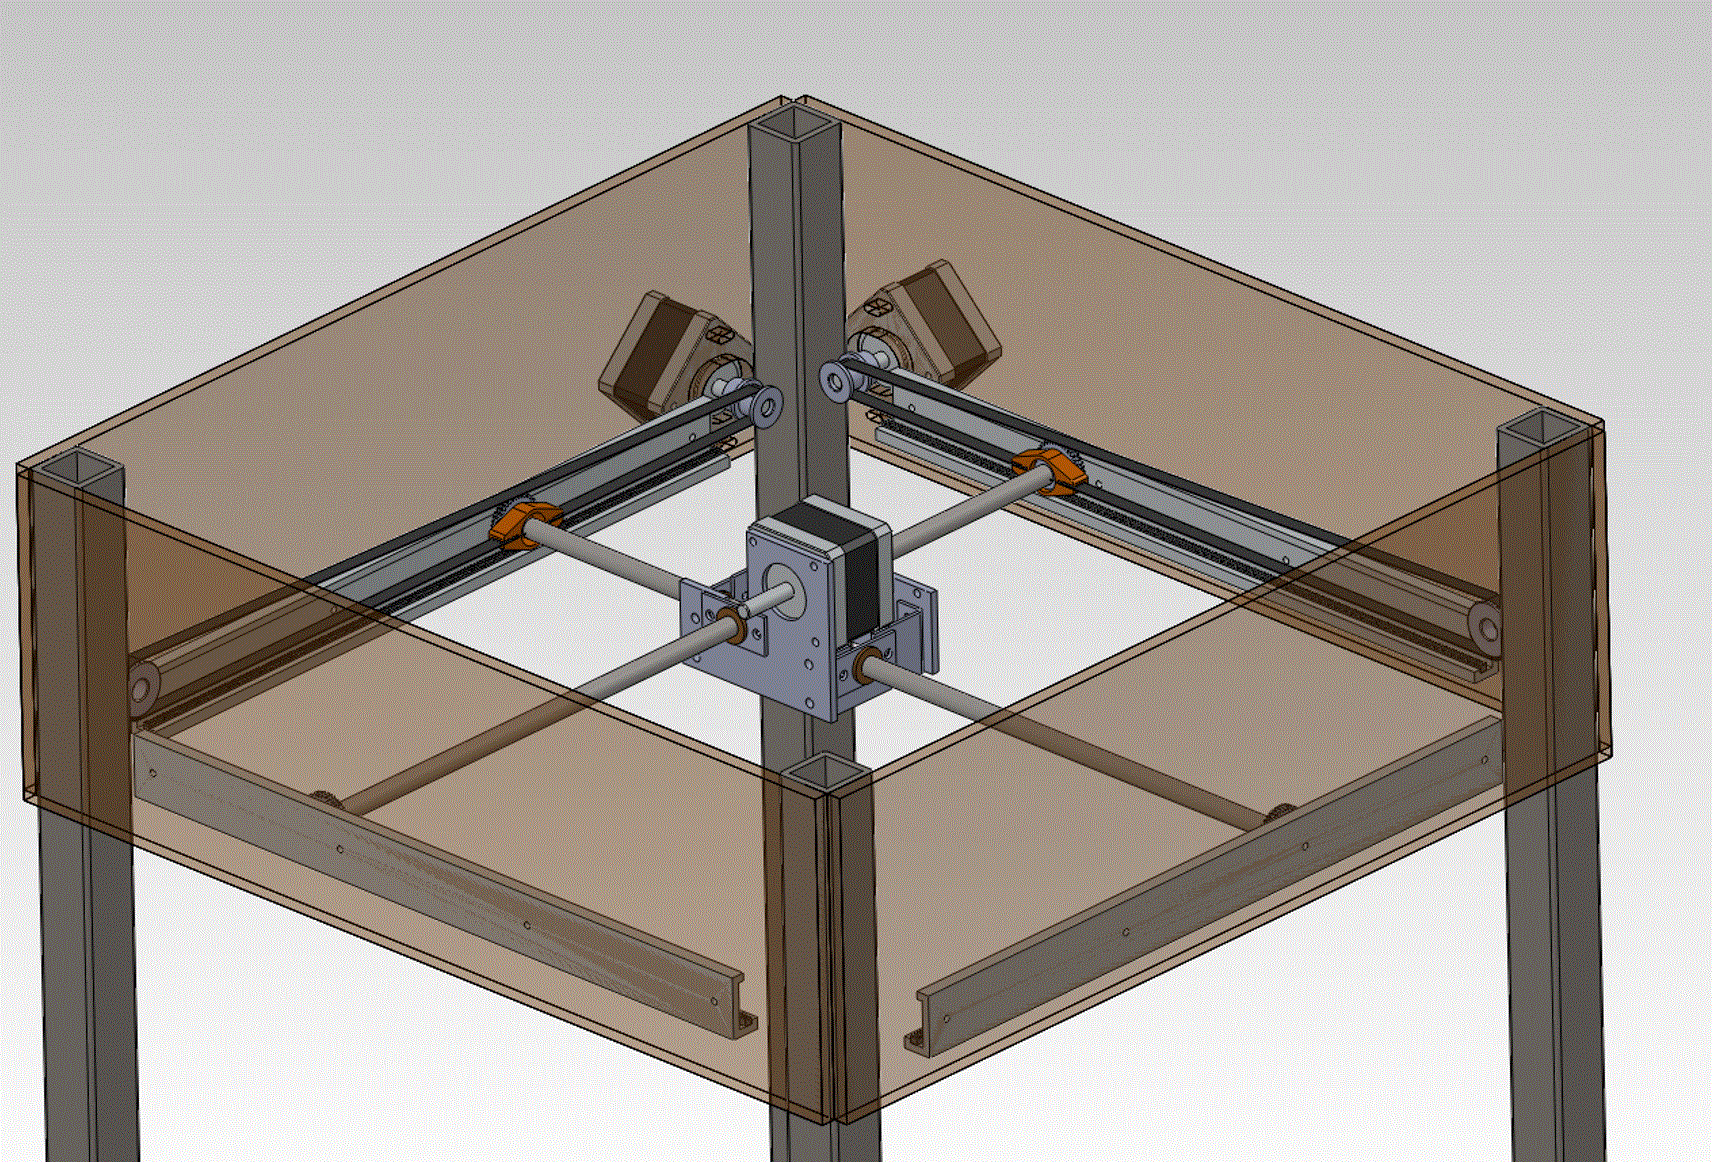
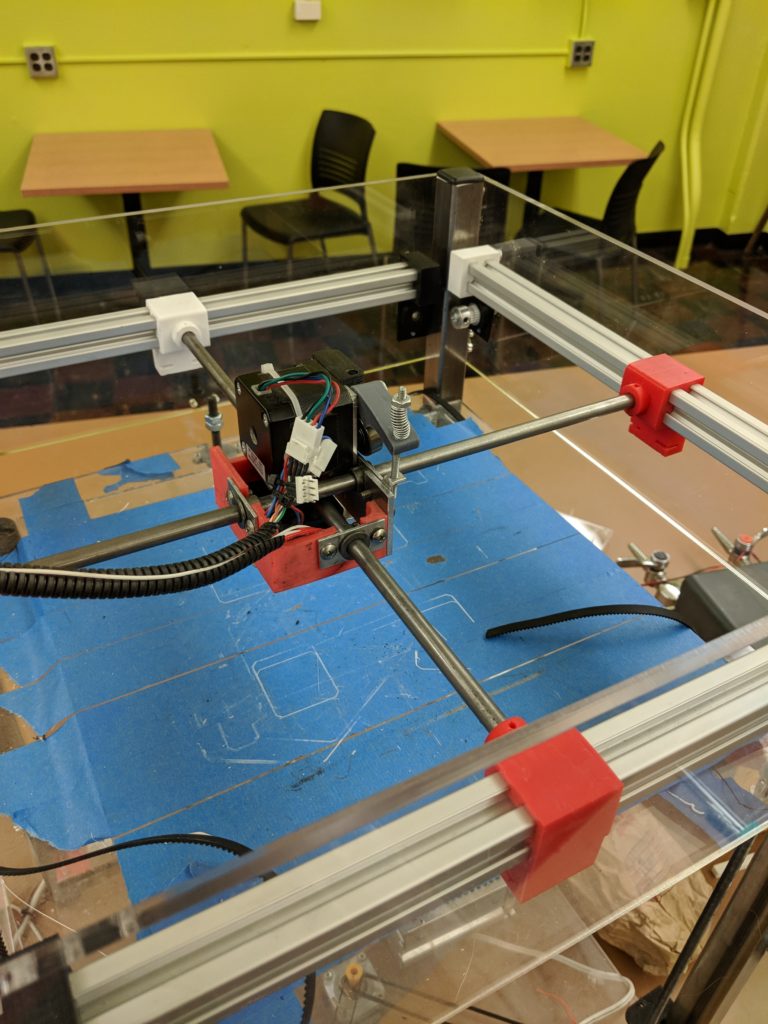
The first printer was completely designed by my mentor Jeff Kerr. We built a total of four of these together. It was a project meant to introduce me to SolidWorks and 3D printers at the same time. This printer is much different from any of the designs to follow it. With this printer, the XY axis move the table and the Z axis slowly raises the extruder for each layer.
Jeff came up with the design but I still did the leg work to make the parts and sub assembly (to gain experience) in SolidWorks. When I completed the design, we CNC milled out about 10 parts per printer and lathed about 5 parts per printer.
Designing and machining parts took a long time; approximnetly 10 hours per week for a 3 months. Because of how long everything else took, Jeff took care of programming it.
The budget we decided for this design was $250. The printer had good quality prints but only lasted a few months until the linear rails (angle aluminum) wore out and needed to be replaced.
One of the lessons I learned from this printer is that 3D printers can be affordable when properly designed. I also learned how important it is to design something to be easily assembled. Finally, try designing the printer to have the head move X and Y to reduce the space it takes up.
Z2
About 6 months after finishing the first printer I asked one of my high school teachers if my class project could be building a 3D printer. He agreed it could. Therefore, I went out to list improvements I wanted to make in my next printer. The biggest concern I had was a larger print volume.
I drafted a first design and showed it to Jeff for a design review. He gave me a lot of advice on how to improve it. My first draft had a lot of concerns. But after making the changes, Jeff and I went forward to make 4 of them.
This designed changed to having the X and Y move the head and the Z to slowly lower the platform. I wanted this to reduce the overall space the printer would take up. I also swapped the XY linear rails to a gear rack system to try to get better quality.
The gears did increase the quality, however, they also eventually wore out and would start to skip leading to major problem. Also, increasing the print volume taught me without a heated bed, large prints will likely have warping.
Z4
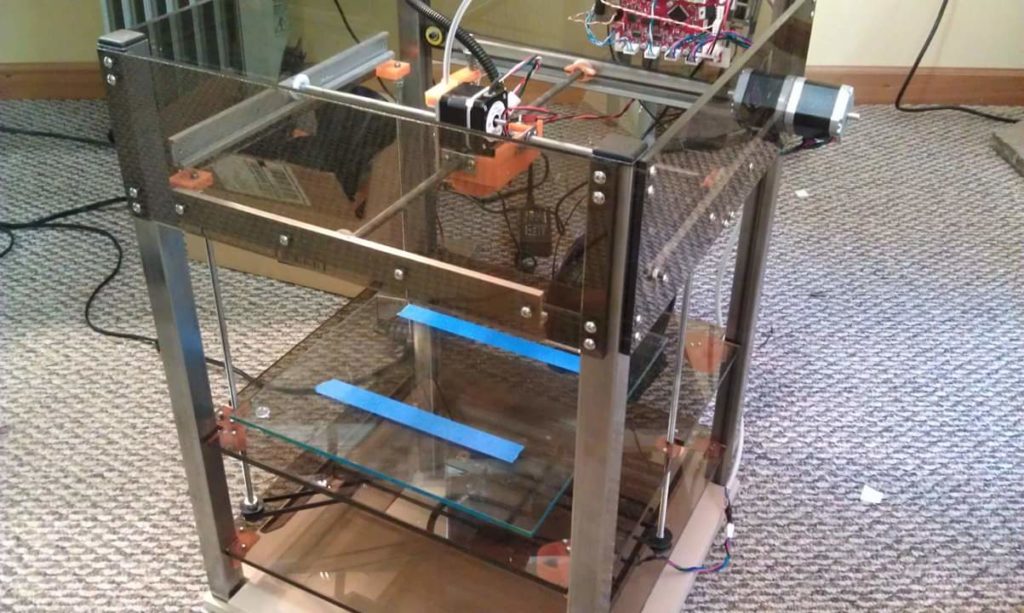
The fourth design evolved from Z2 except this time I wanted to add driving power to all four sides of the XY and try swapping the XY gear system to bosch tubing.
I thought this would be an improvement because Bosch tubing holds a small tolerance across large lengths, however, I ran into a lot of problems trying to get the perfect fit for the linear slide. I prototyped about 30 types of slides that would fit into the Bosh tubing but they always left enough room for the axis to wiggle a little. I looked into purchasing linear slides, however, they were usually expensive and still had tolerances that were too large.
To add power to all four sides, I added an additional transmission axis that would transfer the belt drive from the x axis to its parellel side. I did the same for the Y axis as well. This proved to be sucessful and stop the axis from binding on one and another.
Z5
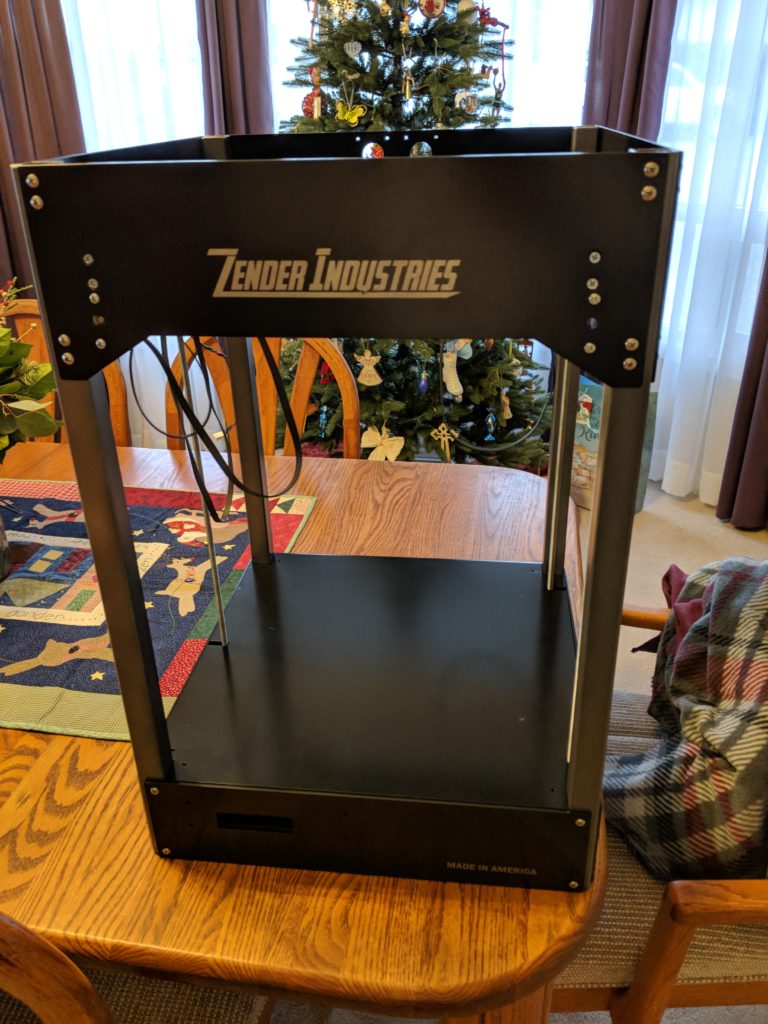
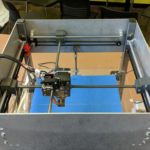
Z5 is my lastest design. I am currently still finishing this one. iot is almost complete, still checking the overall quality and calibrating it. This design introduced many new changes that ultimately make it more reliable than most printers that sell for under $1000.
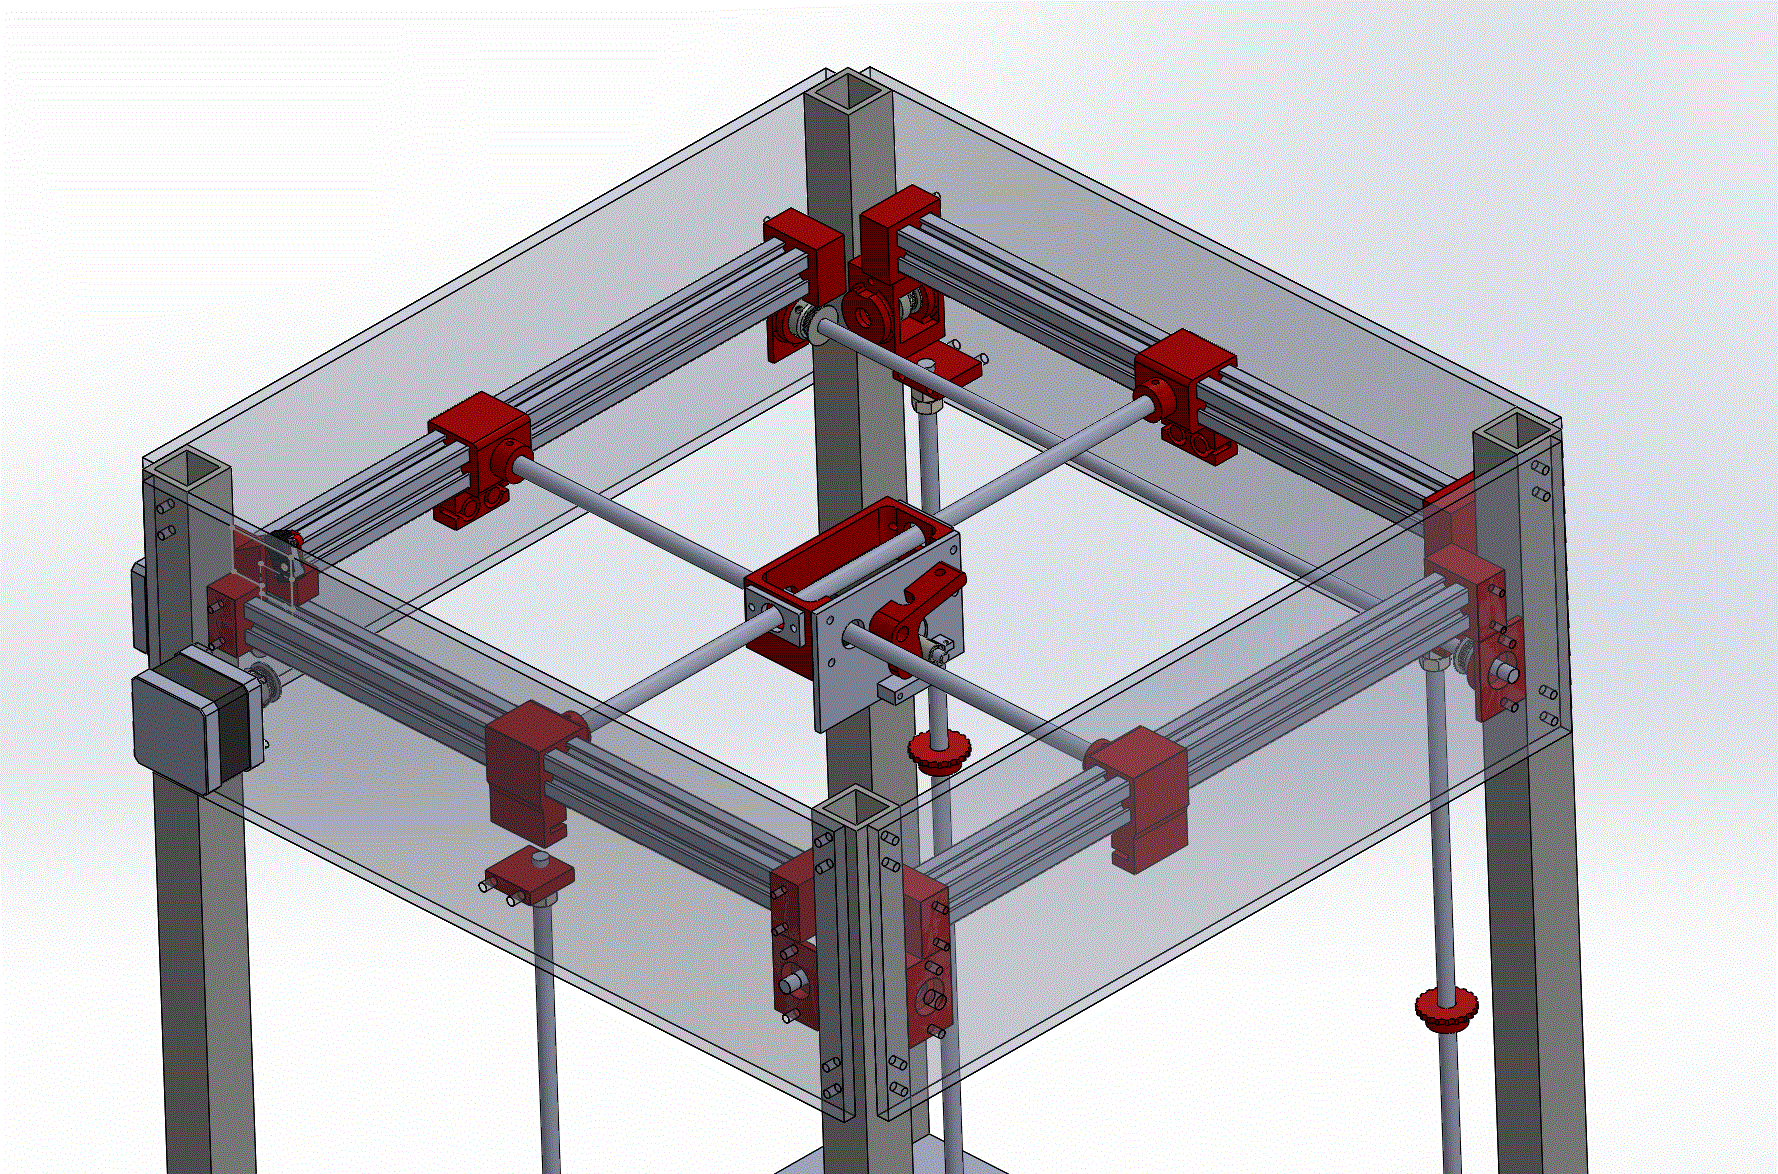
I switched the X and Y axis to linear rails with linear ball bearings. This has proven to be much greater than the Bosch.
A heated bed has also been added to remove the warping and to allow me to explore more materials. Additionally, I have added a proximety senor to help with the flatness tolerance across the printing platform.
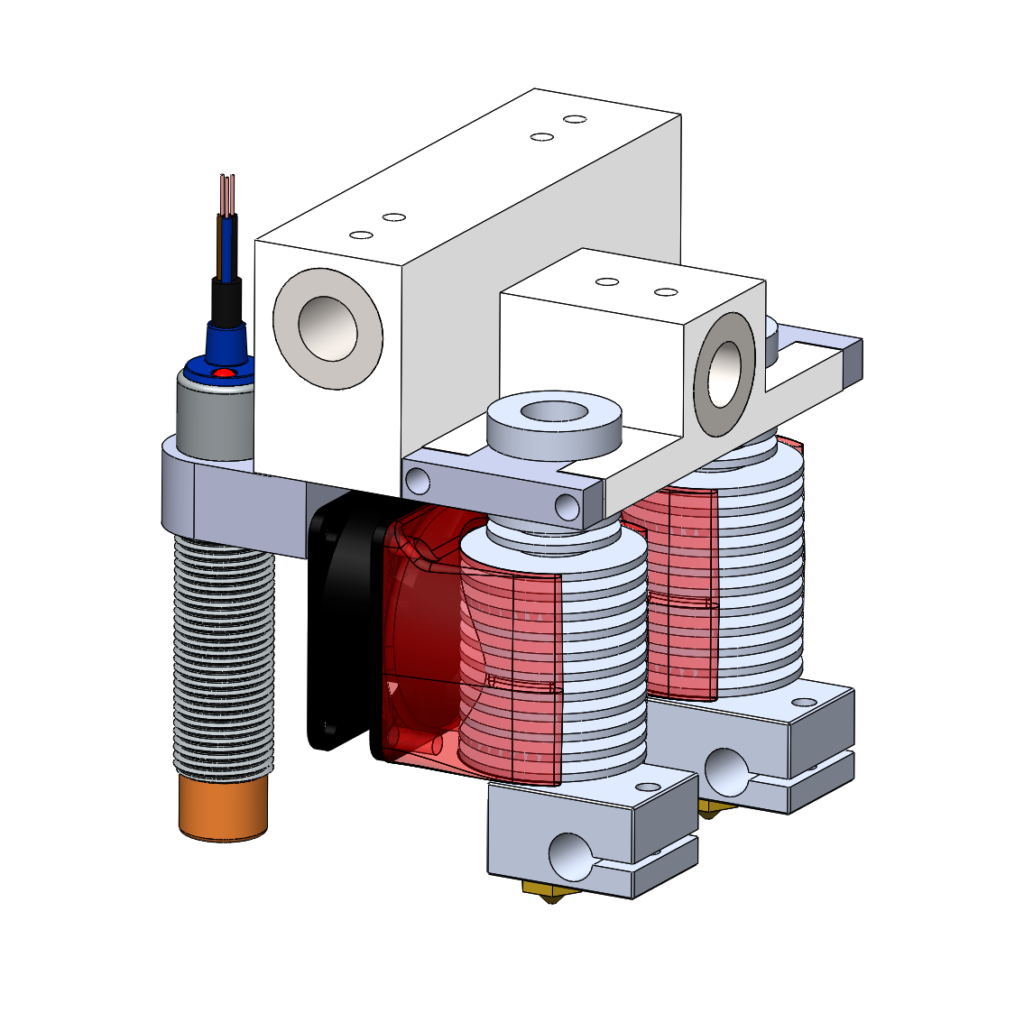
To add to the heated bed I added a bowden extruder that is all stainless steel. I decided to go this route because the bowden extruder makes the print head much lighter and easier to add multiple nozzles. I went with an all stainless steel nozzle to help with residue that may reside in the nozzle when switching between materials. To wrap up the extruder, I have also included a second nozzle for dual extrusion. I purchased the extruders because I have learned from the past designs machining my own extruders is not worth the time it takes.
The video on the left shows a test print.
The extruder looks like the CAD design to the left.
Overall, I am very proud of this design. It certianly has shown a lot of potential to last long. I predict the linear ball bearings to be the first thing to wear out, however, that is good because they are affordable and easy to swap out,. This printer has taught me a great amount of electrical engineering. Because I used a lot of different components from before I had to be careful about the electrical schematic,
Analysis
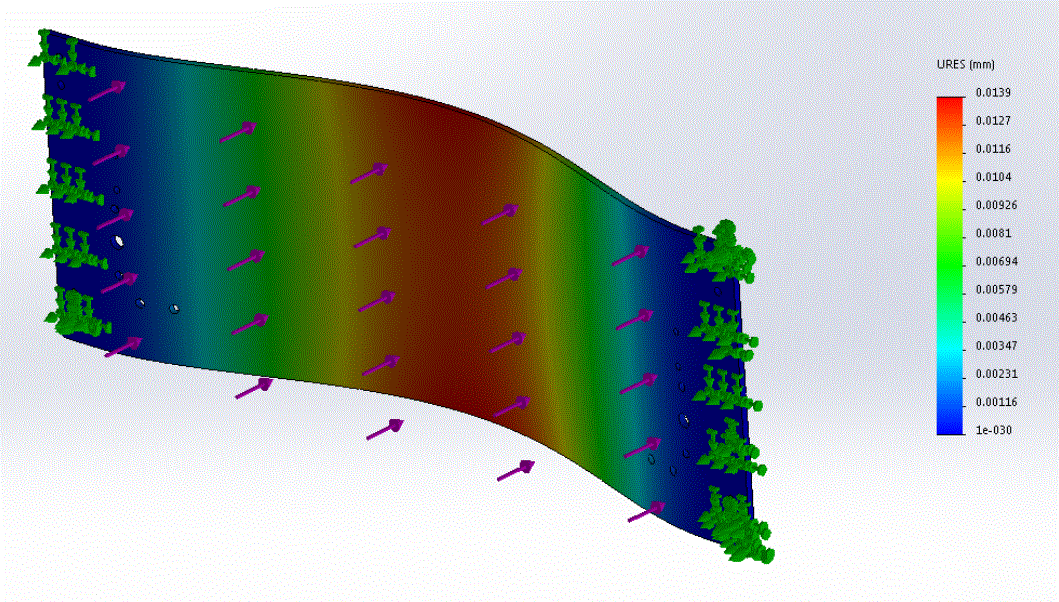
To determine the thickness I needed for the frame of the Z5 printer, I ran a few FEA simulations. The first, was used to see how much force is applied when the extruder changes direction. I looked at both normal and shear forces because the extruder will be moving in all directions in that plane. The picture on the left shows displacement, I used this because the extruder was never going to make the aluminum yield, however, it would make it bow a bit. I wanted to know how much bowing there could be because that bowing will directly translate into the XY axis themselves and affect the print quality. The second simulation was running very similar test but instead of a constant force it was simulated as a sinusoidal to simulate the vibration. Running these simulations allowed me to determine a required stiffness that would hold up against any vibration the extruder would create.
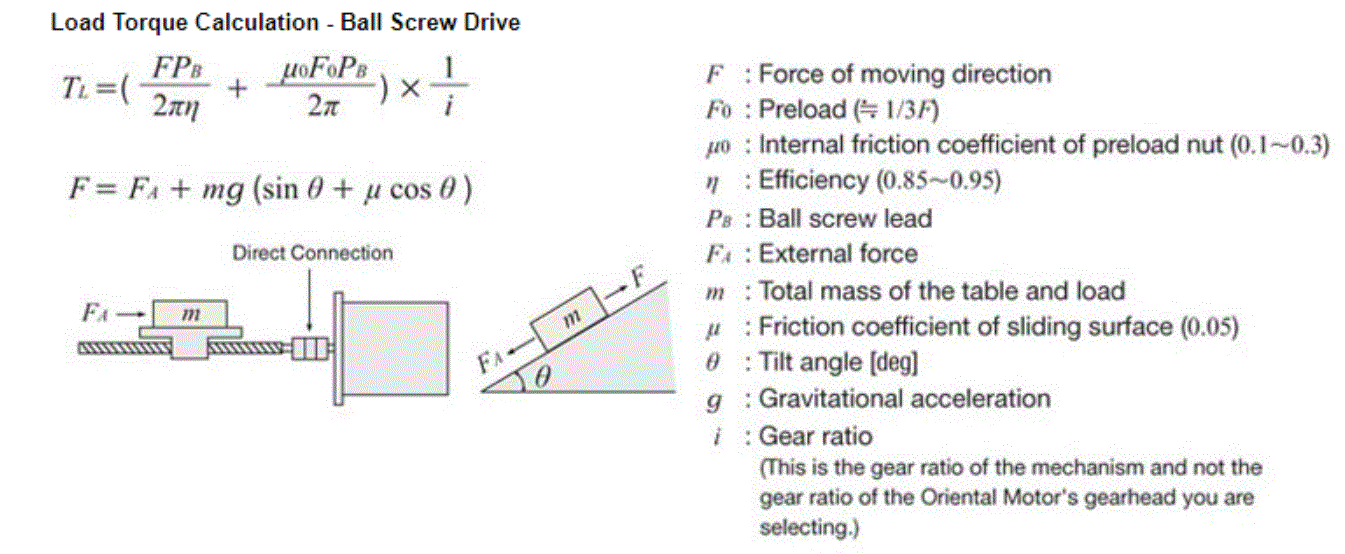
For the Z axis, one of the calculations was to determine the maximum torque required to raise the platform. Because Z5 changed the platform from acrylic to aluminum and added a very large heated bed, I wasn’t confident in using the same motor as Z4. Using equations from mechanical component design and Excel, I was able to calculate the torque. It was just within the range of my existing motor, however, I wanted a factor of safety of 1.5, therefore, I replaced the motor.
Prototyping
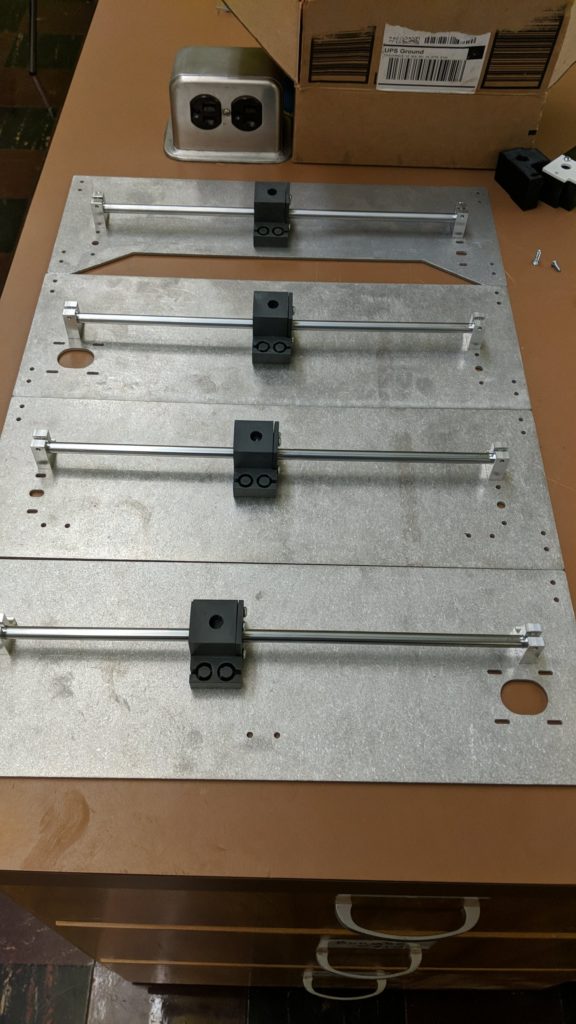
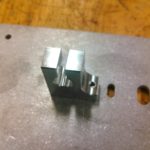
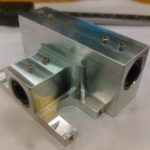
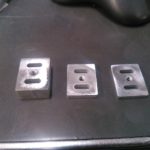
Z1 – Z4 were all prototyped and machined by me, however, Z5 was machined by a profesional shop in Pullman because I was already busy with full time school and 20 hours/week at my SEL internship (plus fitting as much homework in between). Outsourcing the machining for Z5 worked great. The machinist was extremely helpful and very hardworking. This was also a great oppertunity to improve my drafting skills even further.
Drawings
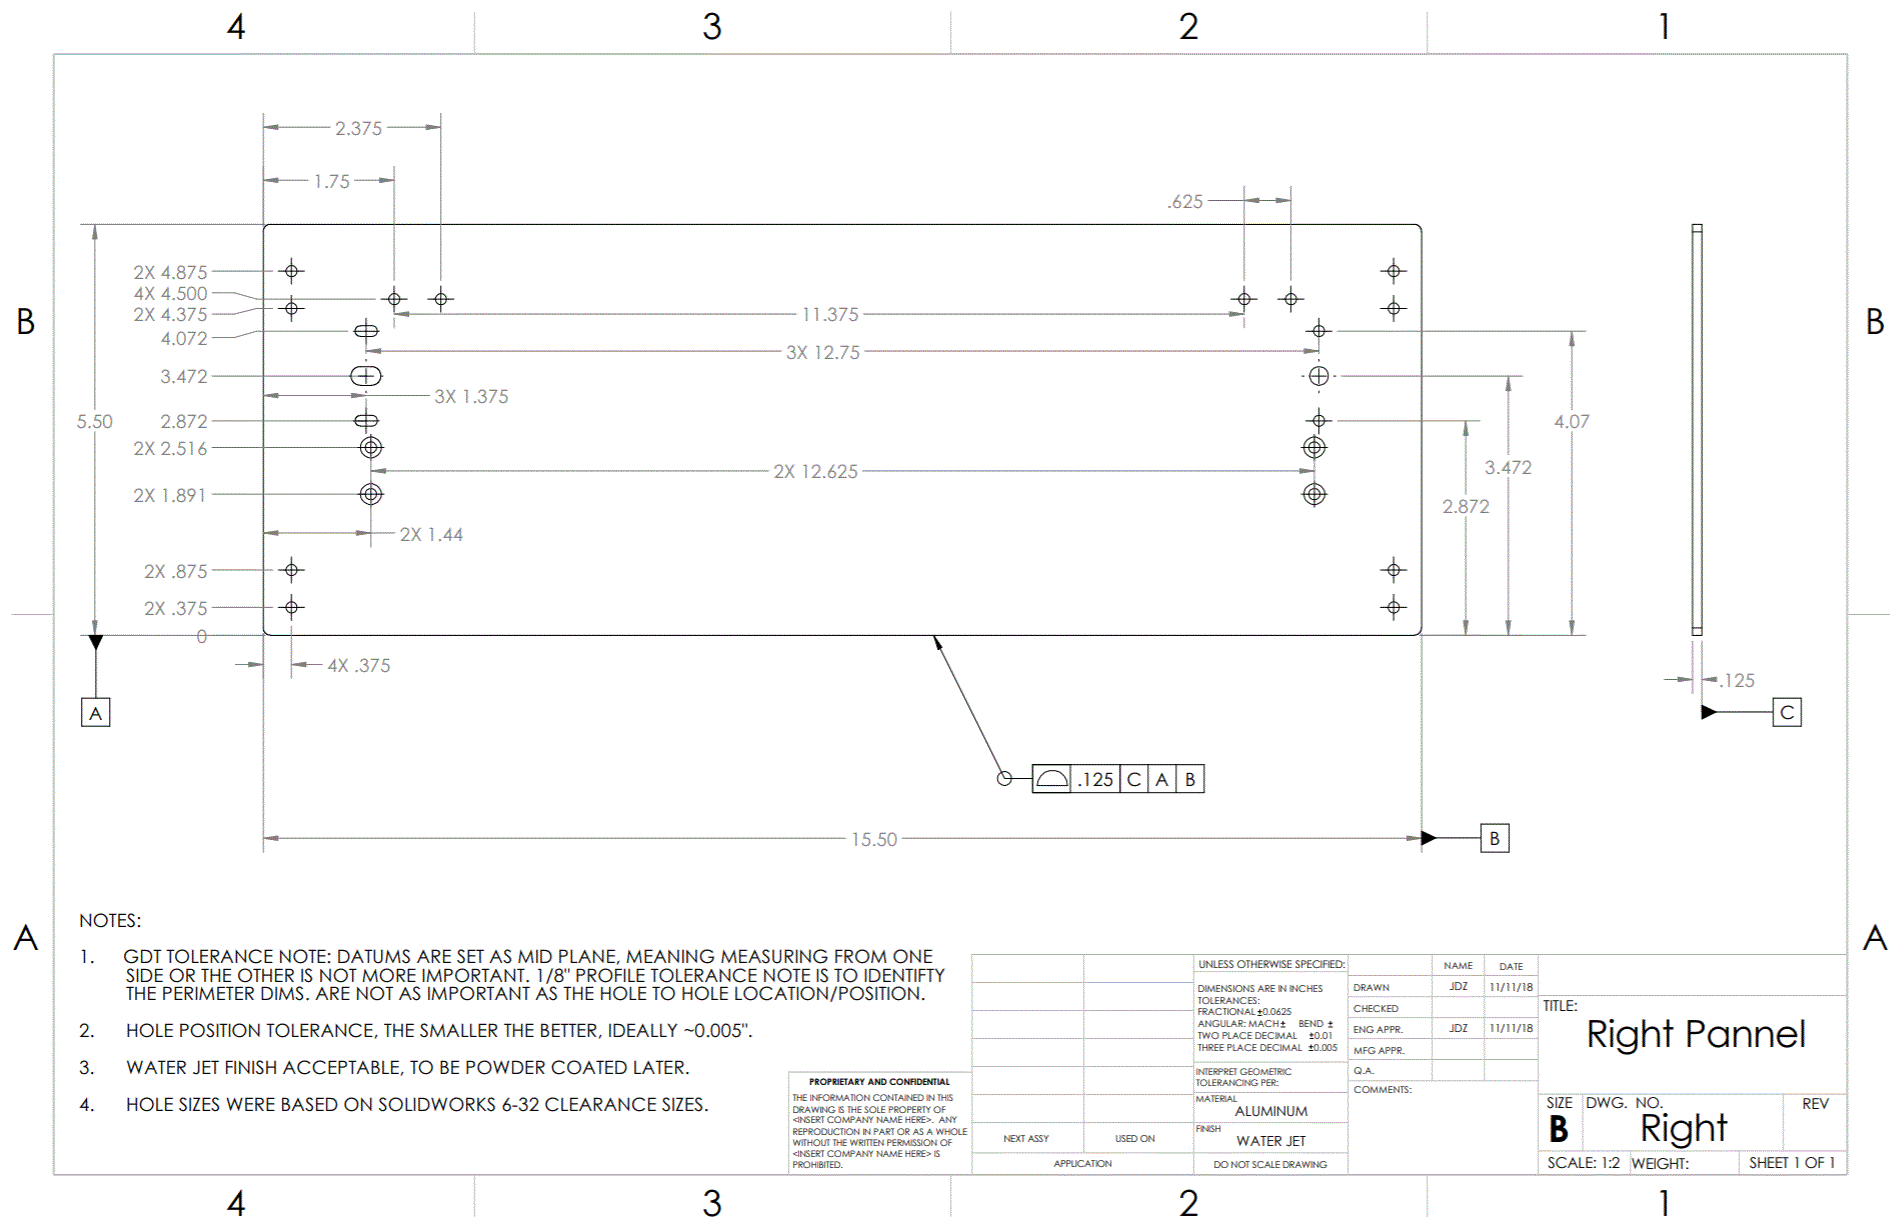
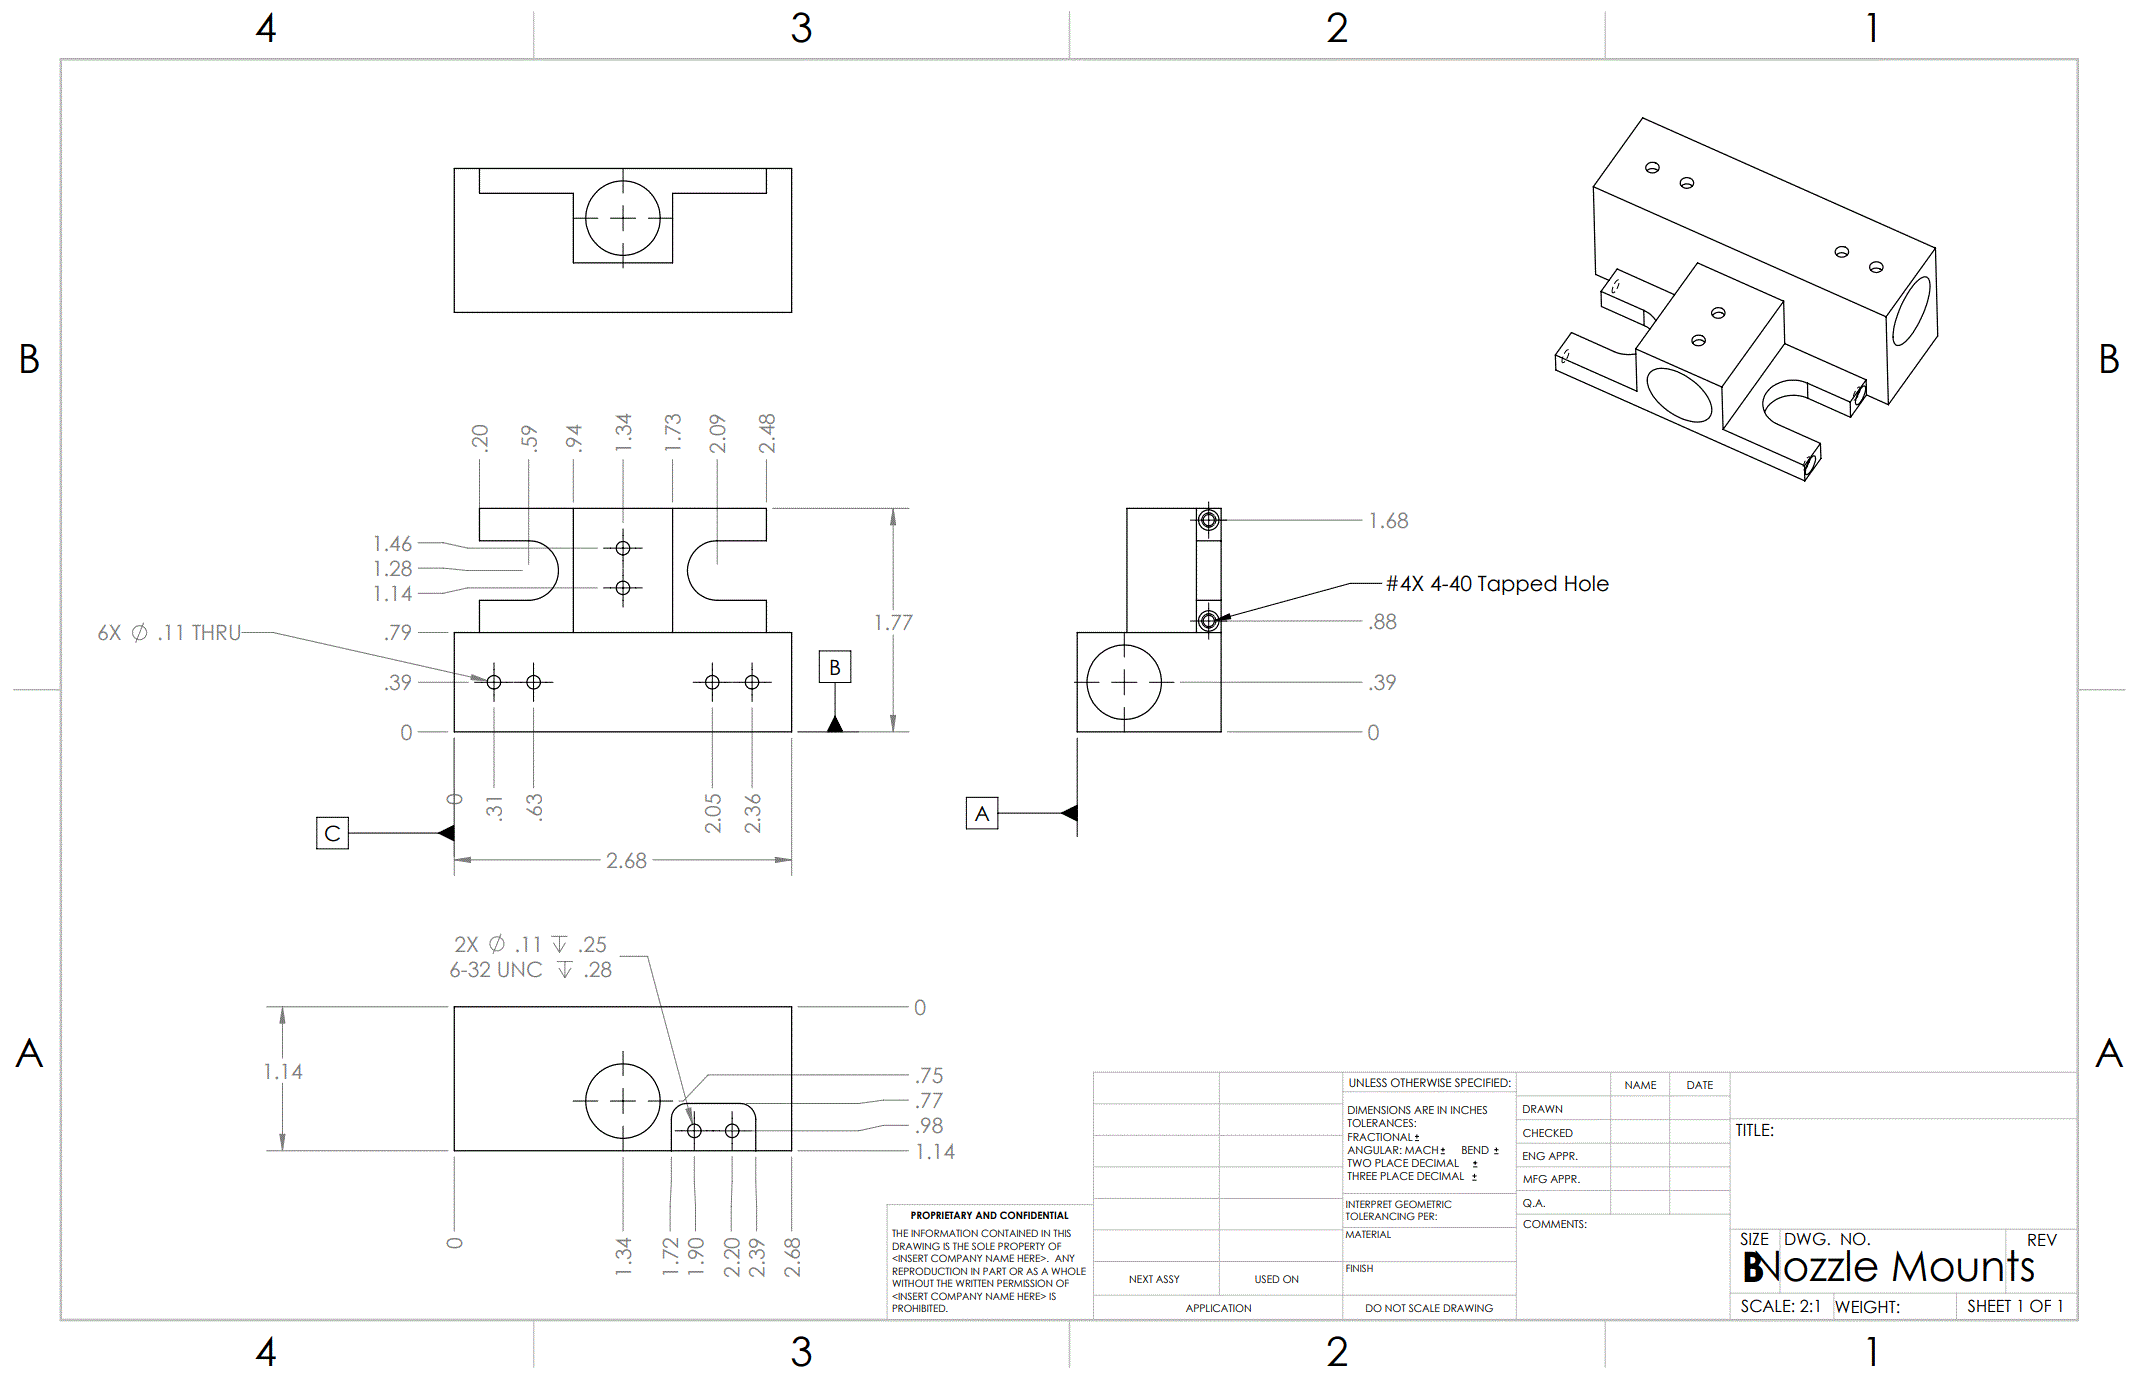
Drawings became very important with the Z5 because I decided to outsource the work; there were too many parts to be machined and I did not have enough time. I made the drawings on a deadline and rushed a few. If I had more time I would have detailed them further. But because I was communicating daily with the machinist, I was able to clarify what were the most important dimensions and how each part fitted together. He was then able to help identify what dimensions he needed to know tight tolerances for, and everything else I could give him generic tolerances. This method worked for this one printer, but we both agreed that when I go to make another batch of these printers, I will need to refine the drawings.
Electronics
These 3D printers have shown me that electrical engineering is not my strength, however, they have given me plenty of experience to grow from. Before these printers, I hadn’t had any experience with crimping wires, adding connectors, and little soldering experience. But now all of that is a daily task with adding new sensors or replacing old components with new ones. Z5 taught me a bit about adding relays for protection, especially with the heated bed. I also had to add a new MOSFET to my schematic because my board had a one that was out of spec.
Testing
Z3 testing
The video on the left is showing one of the XY Bosch rails. Initially, it looked promising, but quickly revealed problems.
Quick Test for Bowden Extruder
Z5 was my first printer to use a Bowden extruder. Therefore, I used my Z1 printer as a text fixture and Jerry rigged it all together for testing. The extruder required some code modifications to calibrate the feed rate to overcome the friction the feed tube provides. A larger problem that I discovered with this was controlling the drool/drip of this nozzle. Because the motor is so far away from the nozzle its hard to control the retraction that is needed without the material dripping out.
Z5 Auto Leveling Test
Z4 introduced auto leveling for my printers. Using a proximety sensor I was able to define points in a grid fashion across my build platform. Using the measurements at each point the printer can define planes from 3 points adjacent to each other.
This new feature is still being optimized. The open source code I found has a few hiccups in it and I’m not getting the quality I’d like.
Z5 Initial Print Calibration
To the left is an up close look at one of the first prints completed on the Z5 printer.
Moving Foward
I have had many failures and successes with these printers. I’ve been working on them for the past six years and I don’t plan on stopping soon. I have a lot of modifications and accessories I want to continue to add for further automation purposes. Z5 is special for me because I believe each day it is proving to be reliable, exactly what it was designed for. That being said, I have been planning on selling them in the near future to friends and family. Which is why I created this website. Hopefully Zender Industries will be my small business that I will continue on the side to simply help pay off student loans and continue funding these fun projects.

